Quick Start for Users
This guide provides a step by step instructions to access Crane and handle jobs on Crane.
If you are the cluster administrator, see the Admin Guide.
Before Starting
Crane must be installed and deployed to your machine by your cluster administrator.
You should activate the Crane-installed virtual environment (like virutalenv or pyenv).
Pyenv Setup
Let's create and activate a virtual environment with pyenv.
You may want to update your PATH environment variable or initialize venv providers in your shell rc file based on your choice.
Tip
If you face error regarding PATH variables on Linux machine,
try adding these lines at the end of your .bashrc file.
export PATH="~/.pyenv/bin:$PATH"
eval "$(pyenv init --path)"
eval "$(pyenv virtualenv-init -)"
eval "$(pyenv init -)"
# Create virtual environment
$ curl https://pyenv.run | bash
$ pyenv install 3.7.9
$ pyenv virtualenv 3.7.9 crane
$ pyenv activate crane
Install
You can install Crane from Crane public repository.
>>> (crane) $ pip install -U pip wheel
>>> (crane) $ pip install unasync==0.5.0
>>> (crane) $ pip install git+https://github.com/friendliai/crane-public.git
Sign In & Configuration
To access the cluster, you must first set configuration for Crane.
The crane config command can be used to update and edit the contents of the configuration.
set <key>=<value> command sets each of the config keys to value provided.
To access the cluster, you need to set url to Manager Node's Host IP address.
# Currently, only url can be configured
# Show current settings
>>> (crane) $ crane config list
# Set new url config for snuengdgx
>>> (crane) $ crane config set url=http://147.46.91.63:8888
Now, you can access the Crane Cluster! Check your resource state by following:
>>> (crane) $ crane resource all
To run jobs on Crane, you must first register yourself as a user.
You can access the Crane sign in page with the crane user signin command.
If you are on remote machine you can use --no-web option.
>>> (crane) $ crane user signin
# Identify the User
>>> (crane) $ crane user whoami
# Sign Out
>>> (crane) $ crane user signout

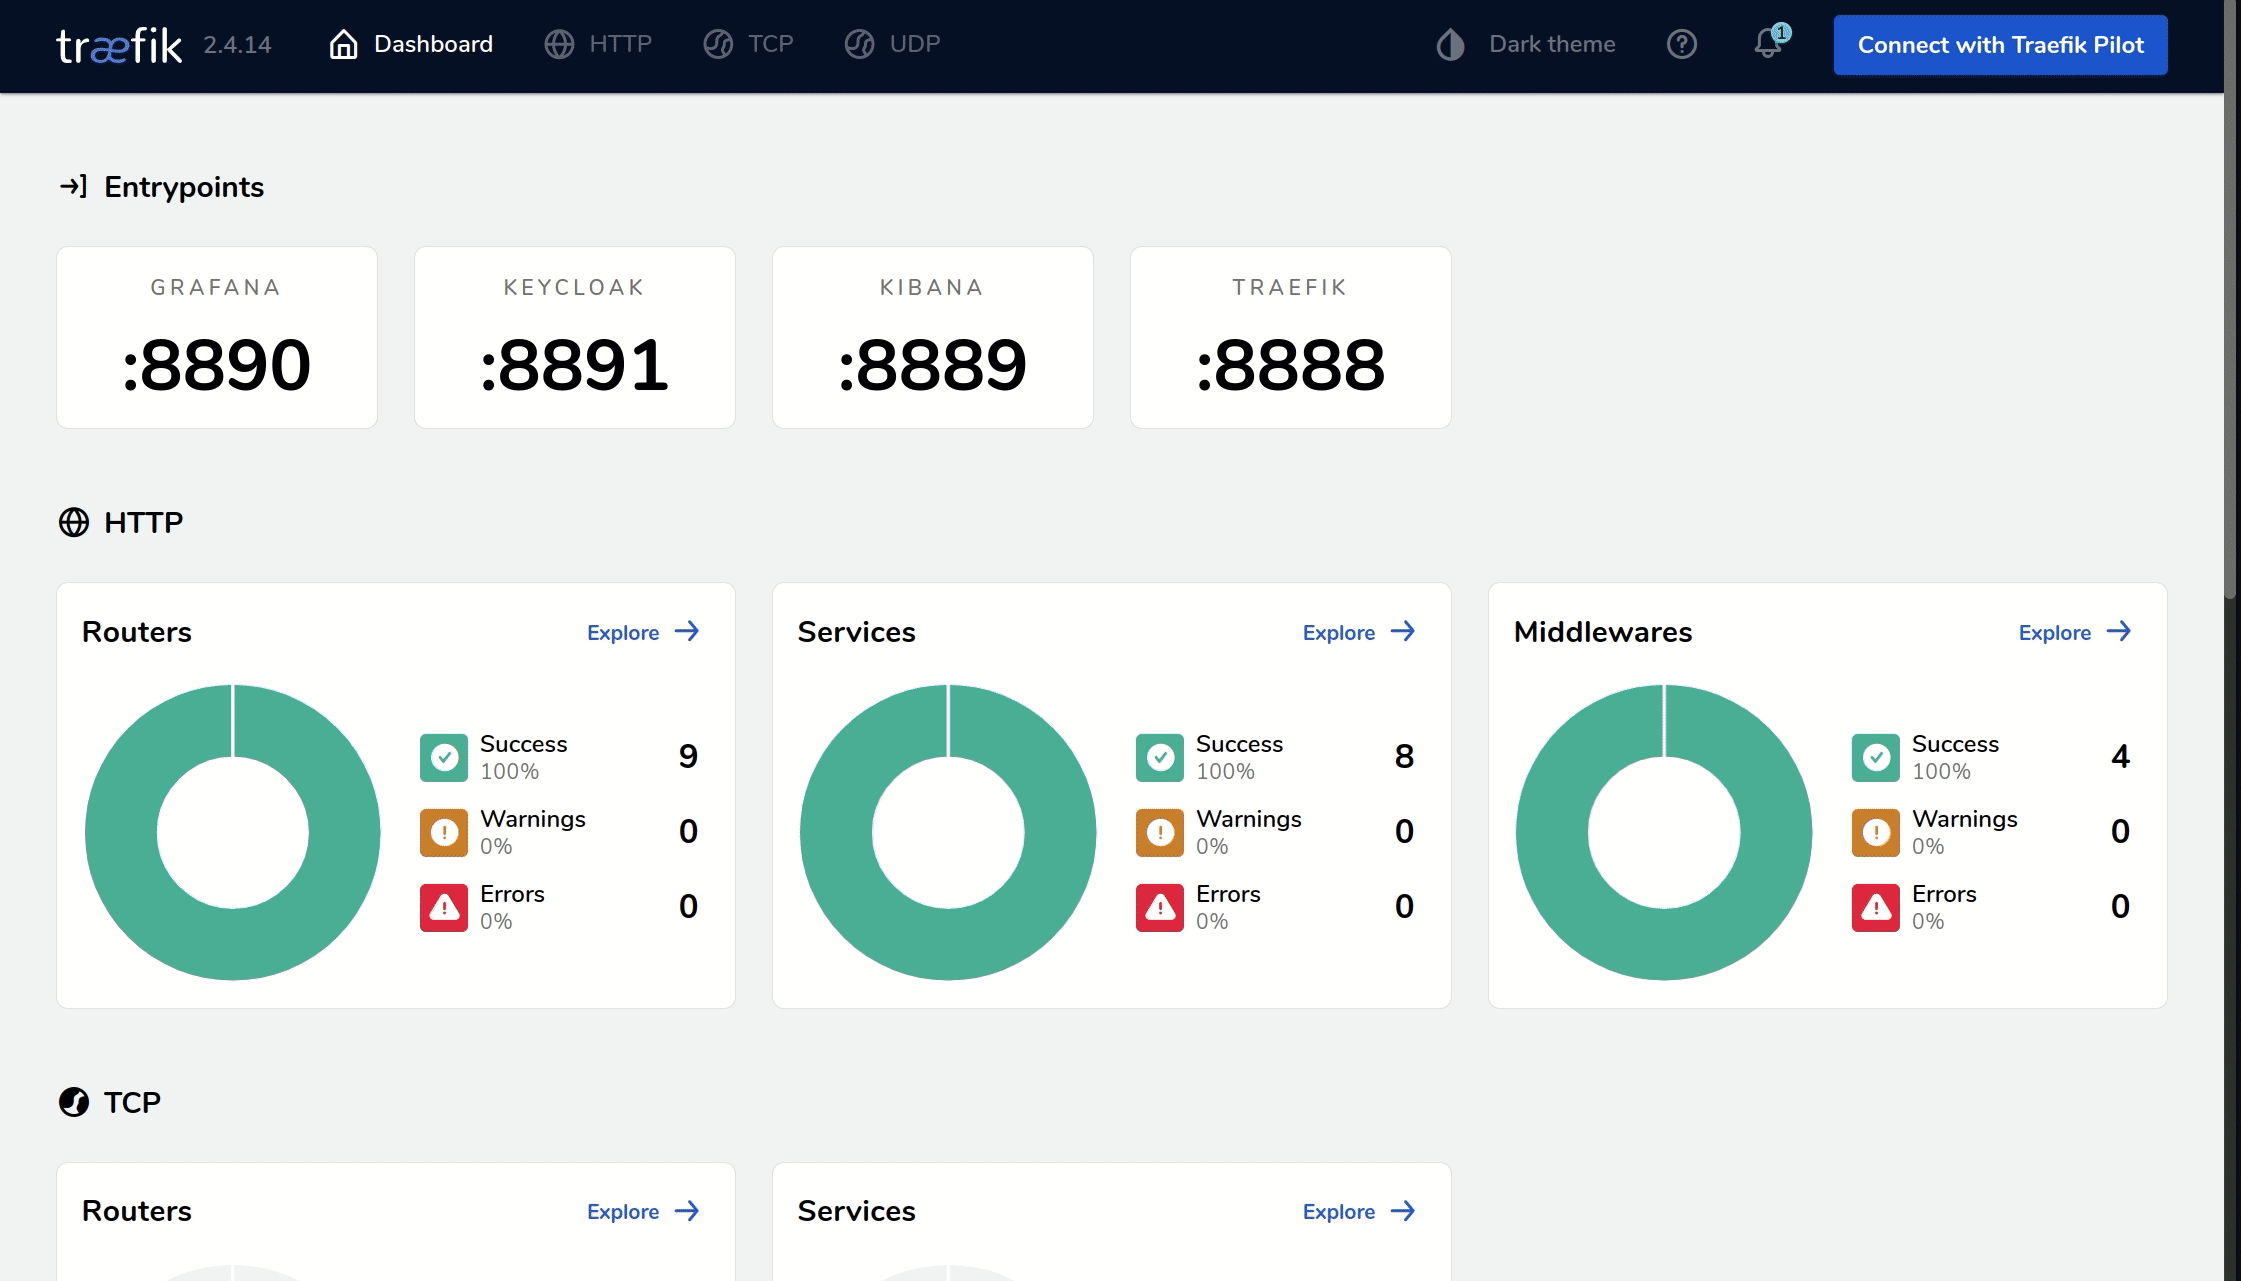
Also, You can view Traefik and signin to Grafana using Crane sign in.
Jobs
Run Jobs
Once you are signed in, you may submit jobs to the cluster by the following command:
$ crane job add [OPTIONS] IMAGE RESOURCE
- IMAGE: The image name in the Docker image format (
REPOSITORY[:TAG]). - RESOURCE: Cluster resource (the number of GPUs) to use. Specify in one of the three formats:
[#GPUs in the App][#GPUs in the App]:[Minicluster #GPUs][#GPUs in the App]:[Minicluster Min #GPUs]:[Minicluster Max #GPUs]
- [OPTIONS]: Check the reference page for the descriptions of the options.
Or you can run
crane job add --help.
Here, let us add a simple 'Hello World' job.
The CLI will print the unique job ID if the job submission was successful.
>>> (crane) $ crane job add alpine:latest 1 \
--name 'hello-world' \
--cmd 'sh -c "echo Hi Crane; ls /workspace; sleep 60"' \
--mount ./:/workspace:ro
Check the Job's Status
You can query for the job with either the job ID or its name (hello-world in this example).
To search and list jobs with a query:
>>> (crane) $ crane job list 'hello-world'
To print detailed information about a job:
>>> (crane) $ crane job inspect 'hello-world'
To print the output log of a job:
>>> (crane) $ crane job log 'hello-world'
Optionally, you may follow the output log of a running job with --follow or -f option.
Kill the Job
You may kill the running job either with the job ID or the job name.
Also, -t or --tag option allows killing the job with the job tags.
>>> (crane) $ crane job kill 'hello-world'
Removing a job will remove every information about the job including logs.
>>> (crane) $ crane job remove 'hello-world'
you can force remove a running job with --force option.
Utilize Crane WorkSpace
Crane provides workspace feature for users.
You can mount the directory as workspace to your jobs.
To utilize workspace,
1. navigate to the directory you want to mount as workspace
2. initialize workspace
>>> (crane) ~/your-workspace$ crane ws init
3. The workspace will be automatically mounted when the job is added.
Now you can utilize the corresponding directory in your jobs!
You can re-initialize the workspace with crane ws init command if needed.